

Sample Pixeum Lesson Plan: Battles of the American Revolution
Step 0 of 0
1
Warm-Up
2
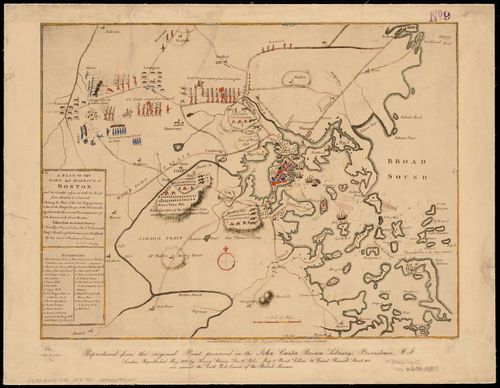
Lexington and Concord: Battle Locations
3
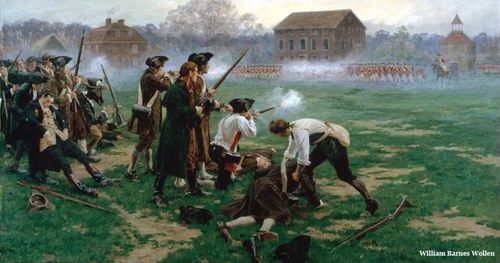
Lexington and Concord: Battle of Lexington
4
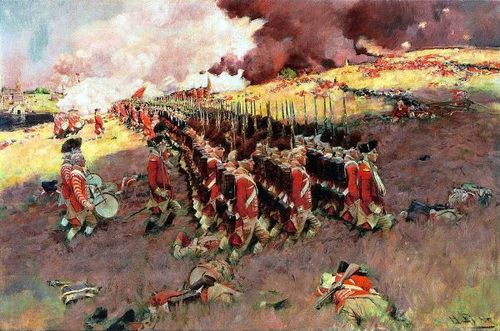
Bunker Hill: Battle of Bunker Hill
5
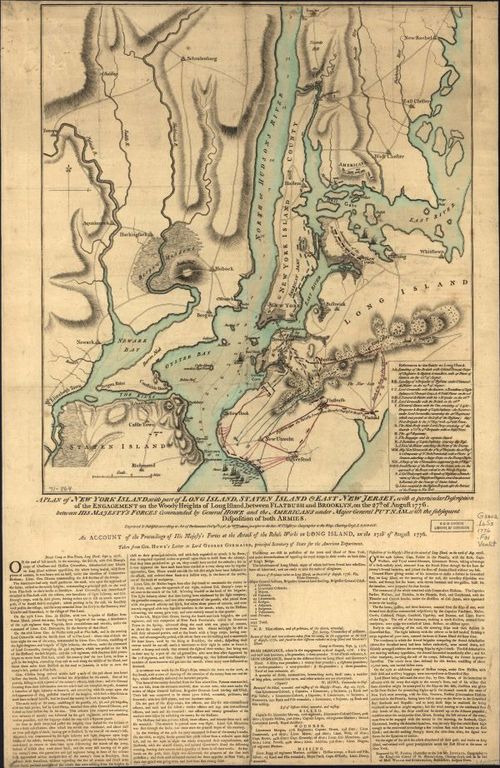
NY/NJ: Howe's War Plan
6
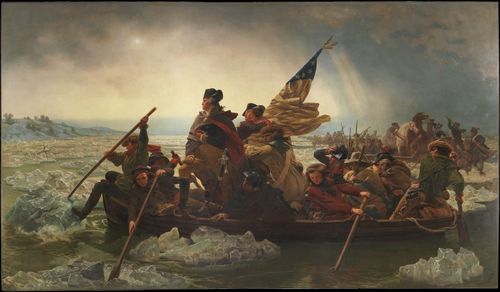
NY/NJ: Washington Crossing the Delaware (Emanuel Leutze)
7
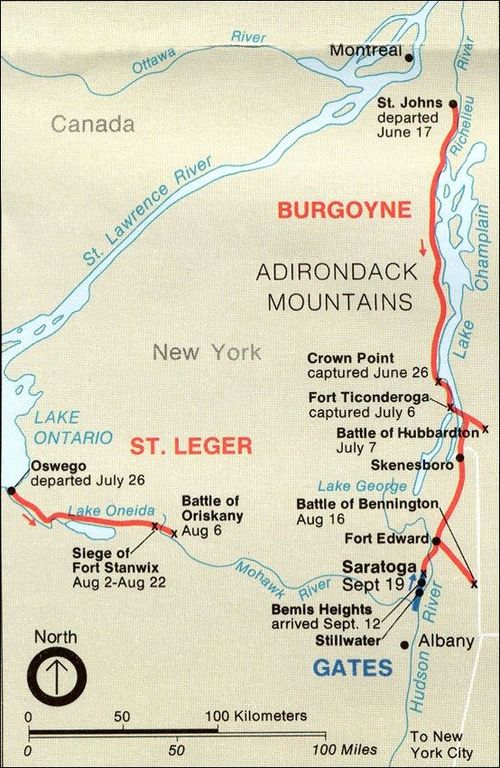
Saratoga: Revolutionary War Battles in NY
8
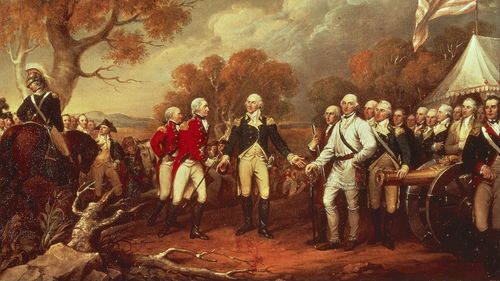
Saratoga: Surrender at Saratoga
9
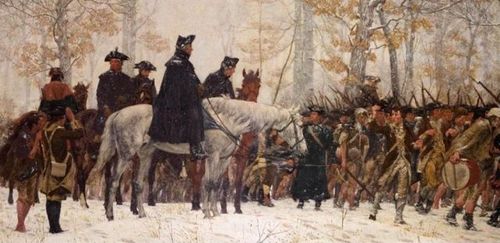
Valley Forge: The March to Valley Forge (William Trego)
10

Yorktown: Siege of Yorktown
11

Yorktown: Surrender at Yorktown (Surrender of Lord Cornwallis)
Place a DOT on the image