

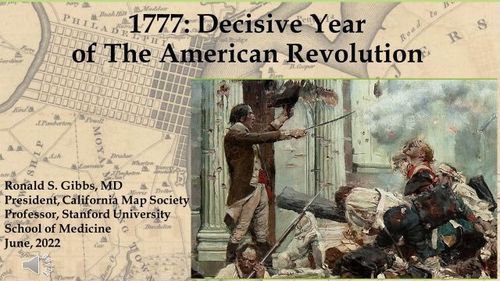
1777: Decisive Year of The American Revolution - by Ron Gibbs
Step 0 of 0
1
2
3
4

5
6
7
8
9
10
11
12

13
14
15
16
17

18

19
20
21
22
23
24
25
26
27
28
29
30
31
32
33
34
![E195 - Plan of Carillon ou [sic] Ticonderoga - 1777](https://iiif.pixeum.org/iiif/3/1668167168/full/500,/0/default.jpg)
35
36
37
38
39
40
41
42
43
44
45

46
E195 - Intro Page - 1777 Decisive Year of the American Revolution
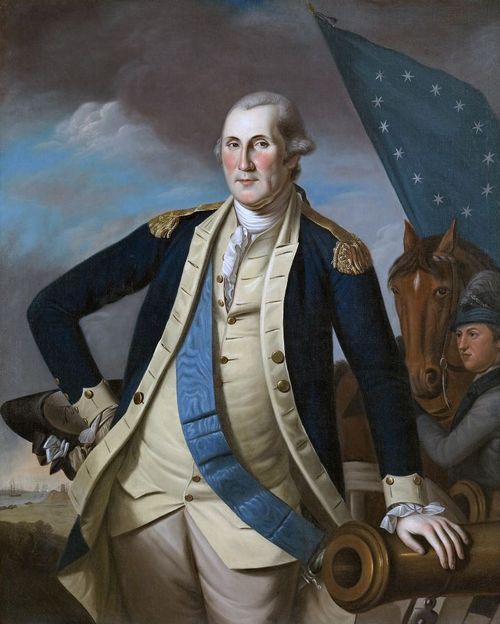
E195 - Portrait of George Washington
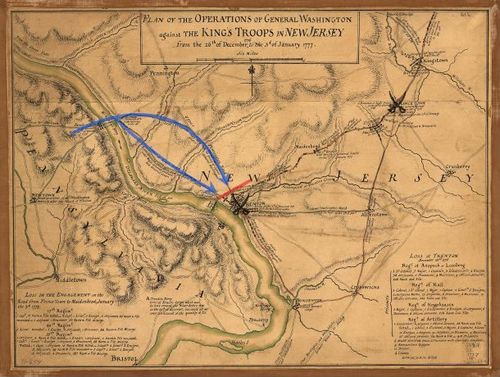
E195 - Trenton Battle Map 1777
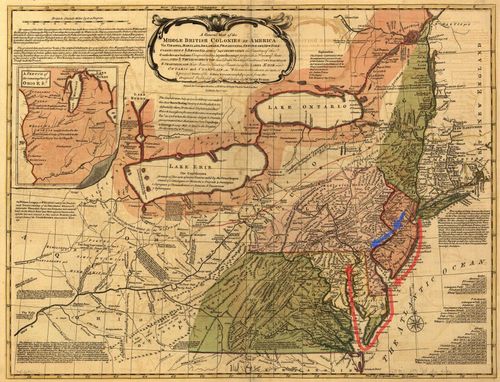
E195 - A general map of the middle British colonies in America - 1771
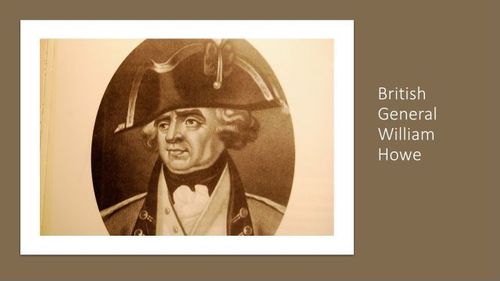
E195 - General Howe
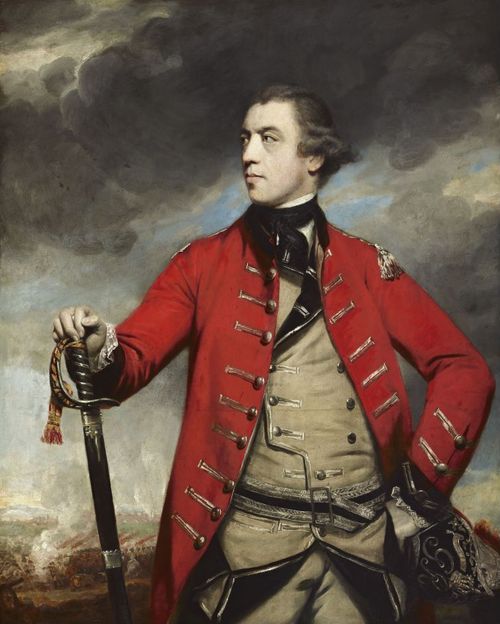
E195 - General John Burgoyne by Joshua Reynolds - 1766
E195 - A general map of the middle British colonies in America - 1771
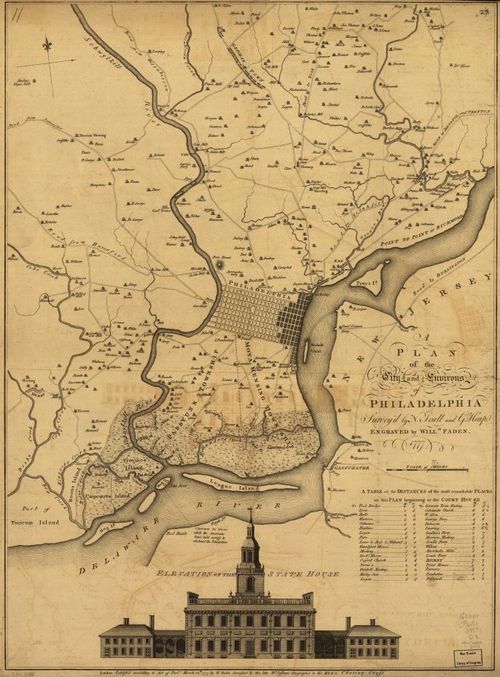
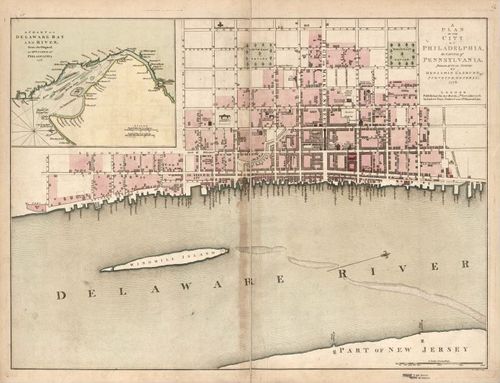
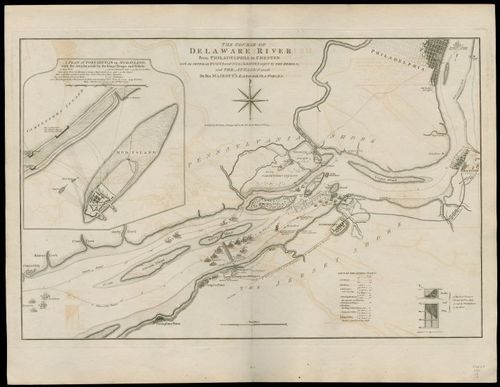
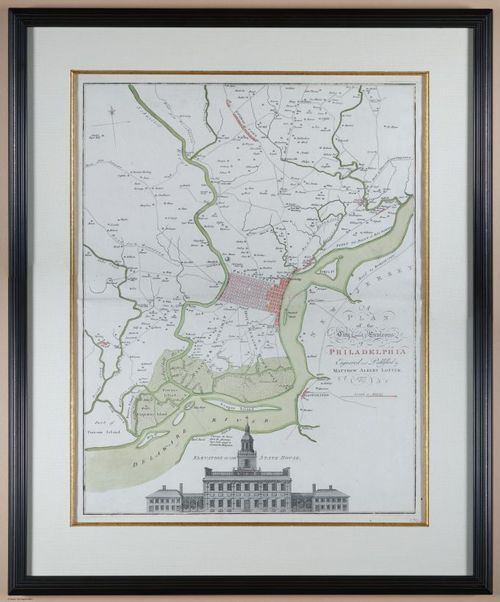
E195 - A plan of the city of Philadelphia - Easburn - 1776
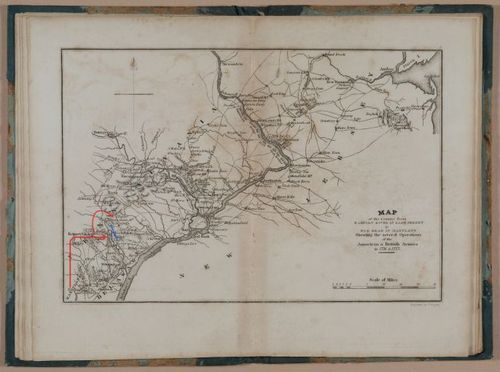
E195 – Marshall's Map - Approach to Brandywine - 1832
E195 – Marshall's Map 1832, Approach to Brandywine
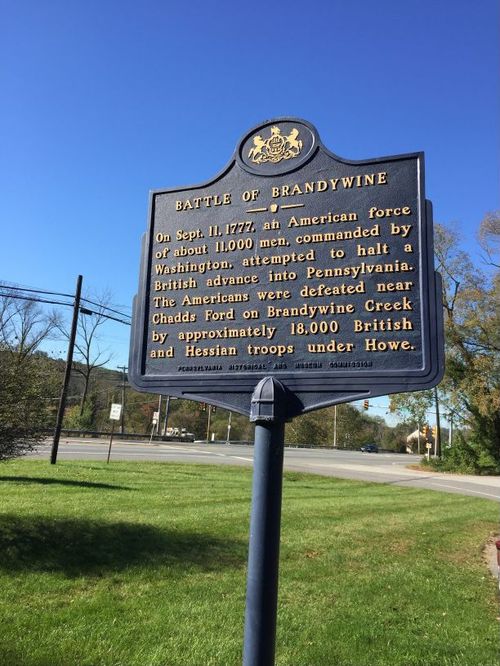
E195 - Historical Marker of Battle of Brandywine
E195 - Jefferis Ford Plaque
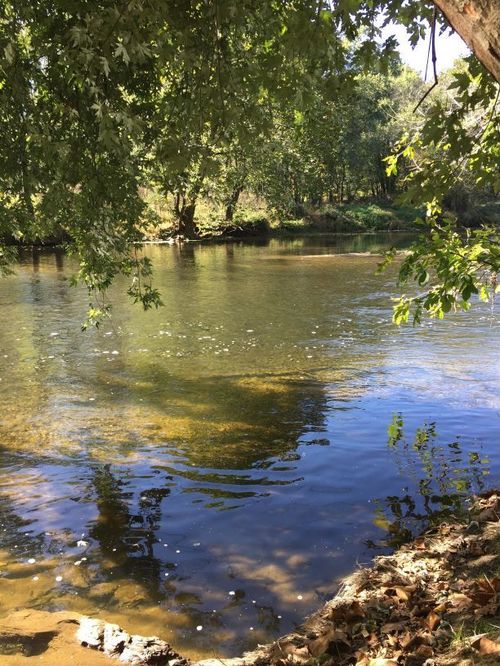
E195 - Jefferis Ford of Upper Brandywine Creek
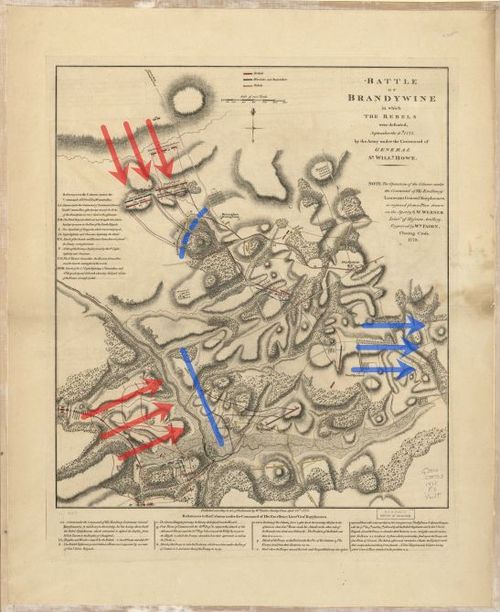
E195 - Battle of Brandywine in which the rebels were defeated, 1777 - Battle Map
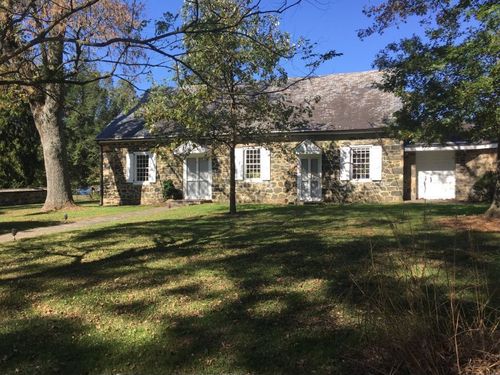
E195 - Birmingham Meeting House
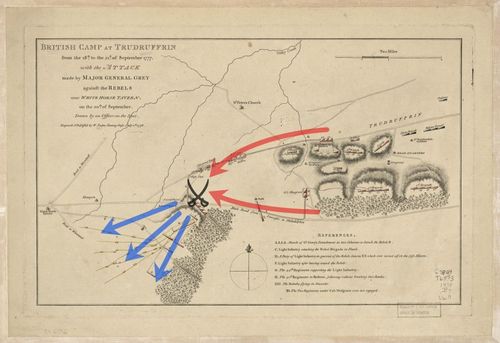
E195 - British Camp at Trudruffrin Battle Map - 1777
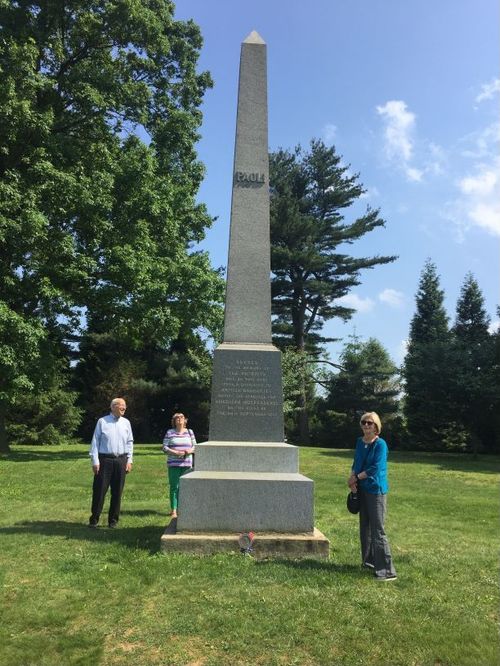
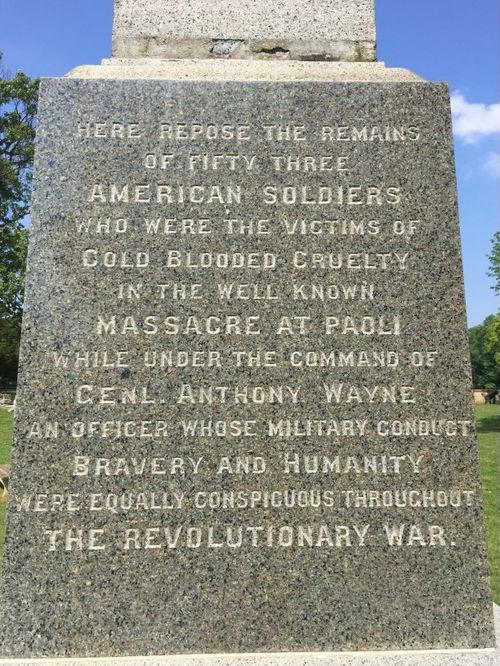
E195 - Paoli Battlefield Monument
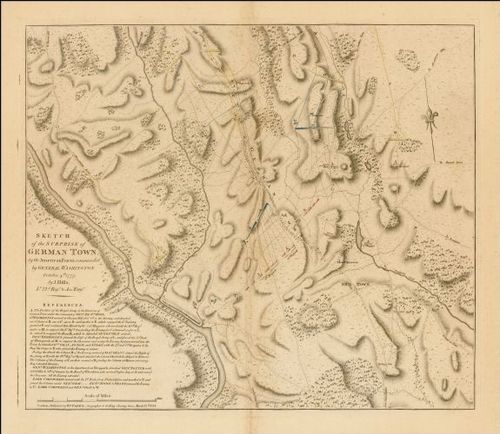
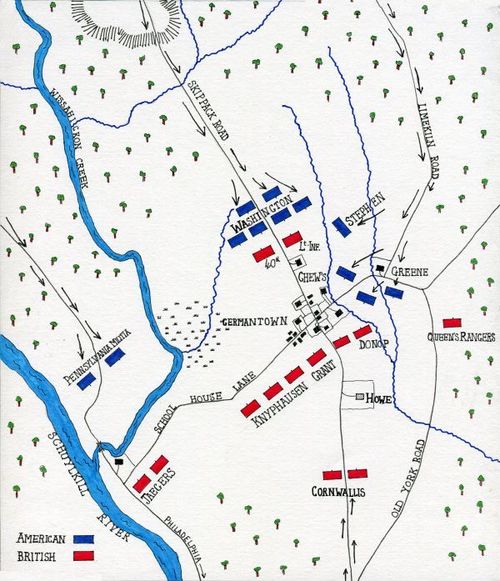
E195 - Battle of Germantown Map, British Battles
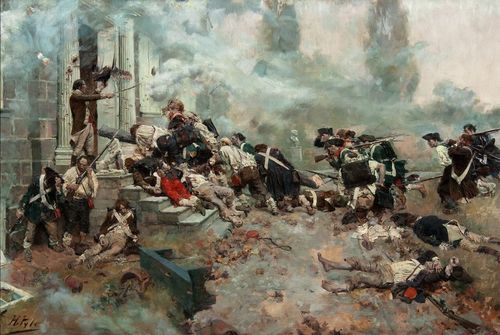
E195 - Painting of Attack on Chew House
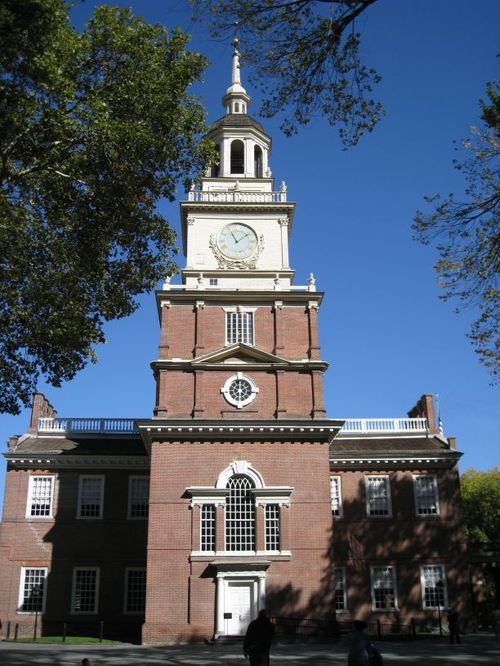
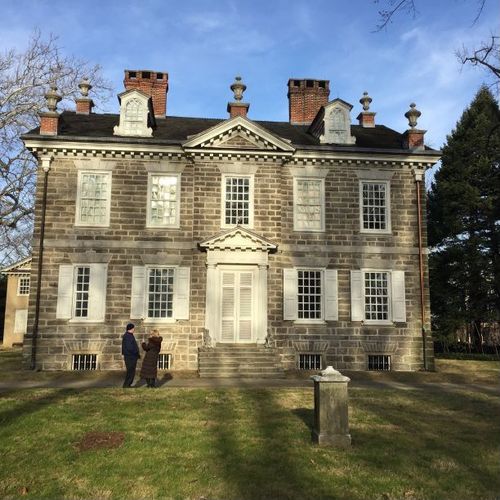
E195 - The Chew House Germantown
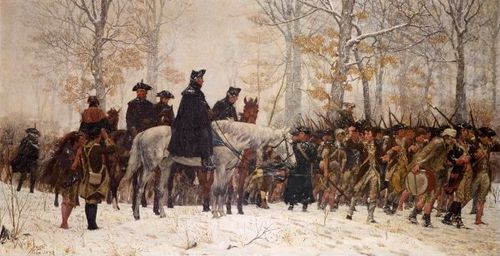
E195 - The March to Valley Forge - Trego
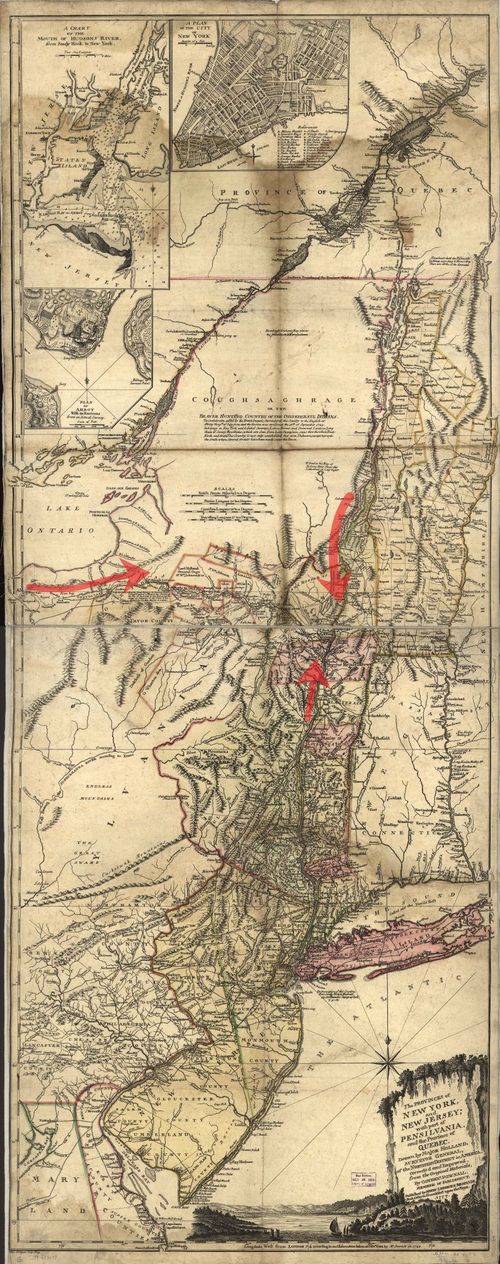
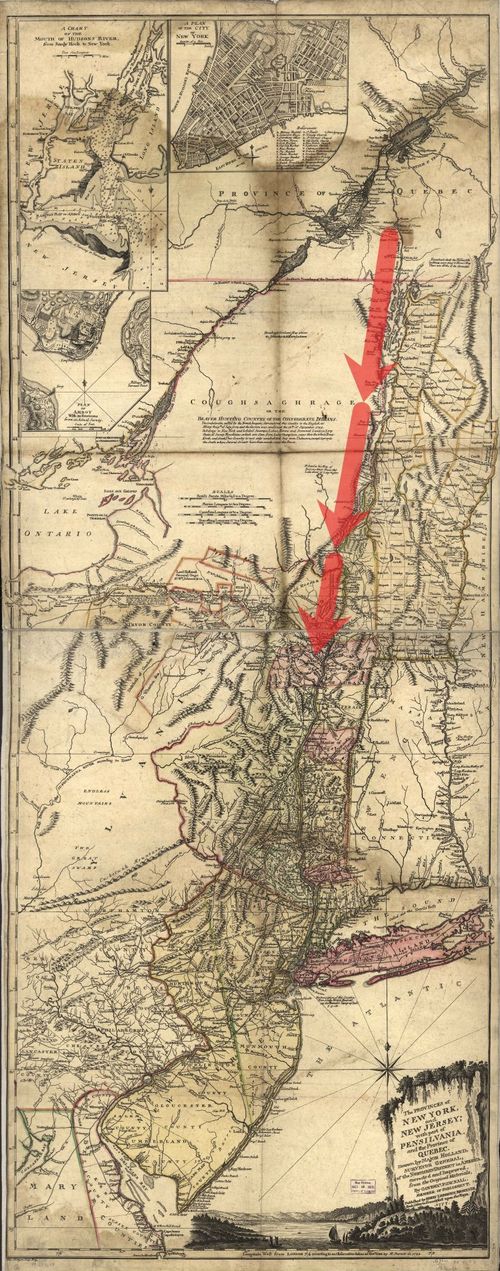
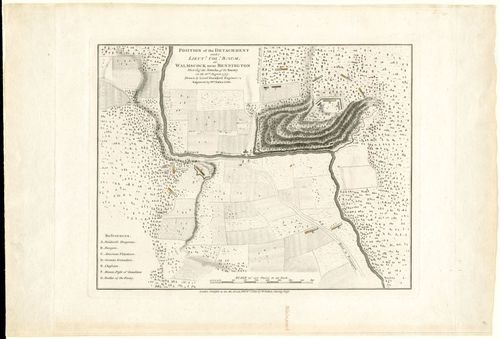
E195 - The provinces of New York, and New Jersey; with part of Pennsylvania and the province of Quebec Battle Map - 1777
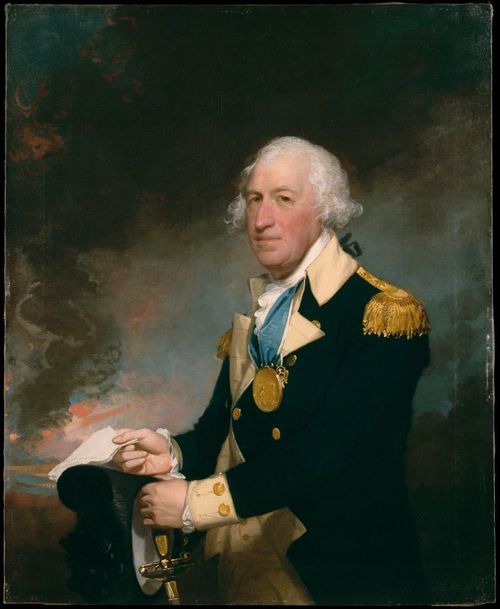
E195 - General Horatio Gates
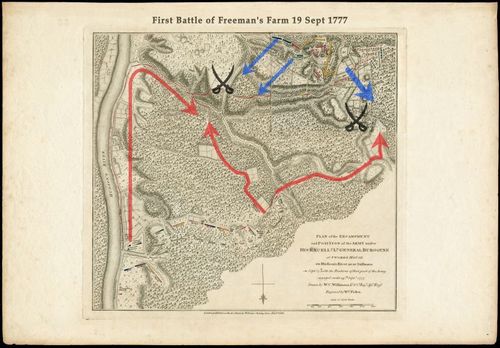
E195 - First Battle of Freeman's Farm, 19 Sept 1777
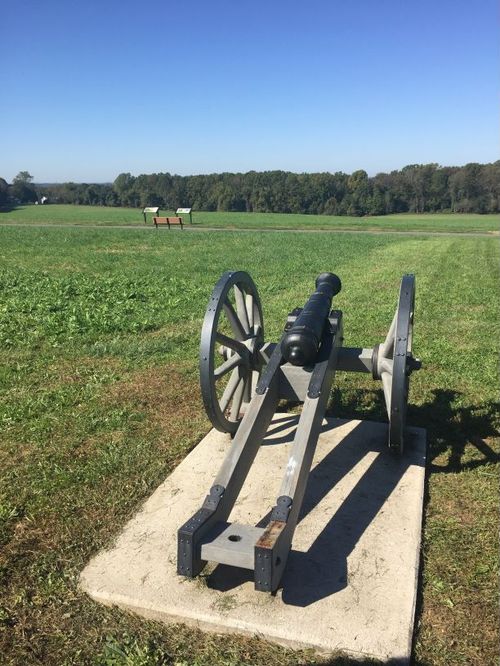
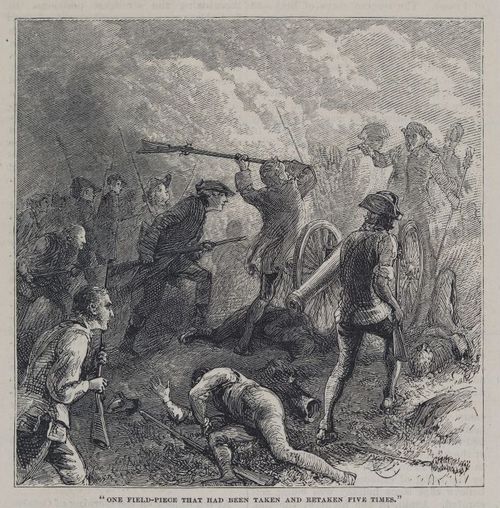
E195 - One Field-Piece That Had Been Taken and Retaken Five Times
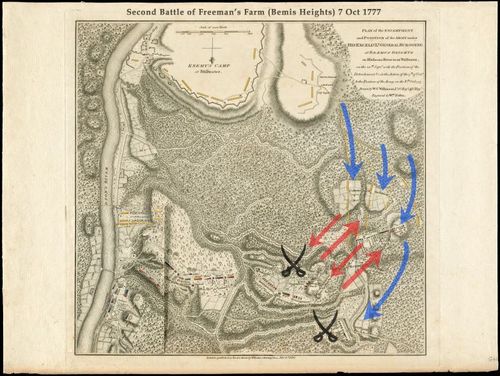
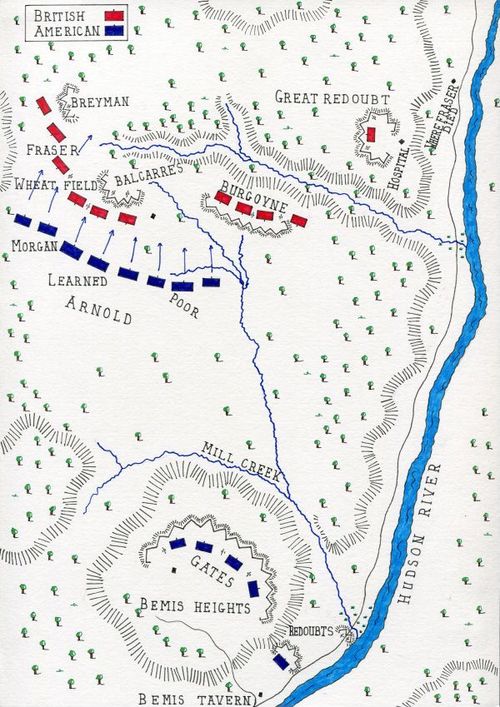
E195 - Second Battle of Freeman's Farm (Bemis Heights), 7 Oct 1777
E195 - Battle of Saratoga British Battles - October 7, 1777
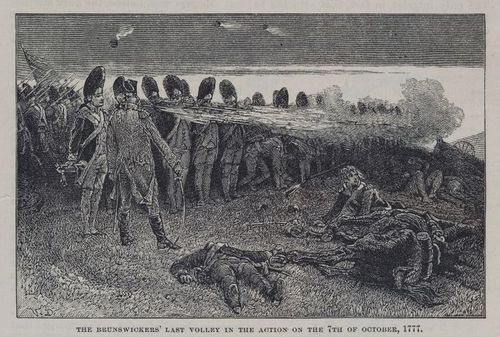
E195 - The Brunswickers Last Volley in the action on the 7th of October 1777
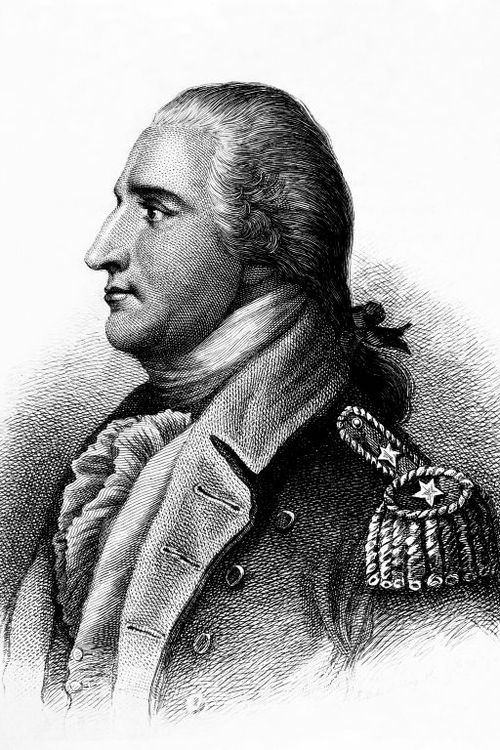
E195 - Benedict Arnold
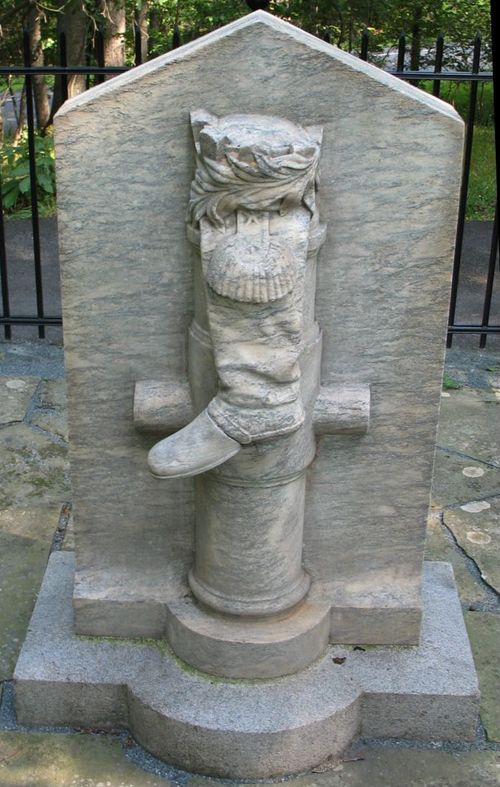
E195 - Boot Monument
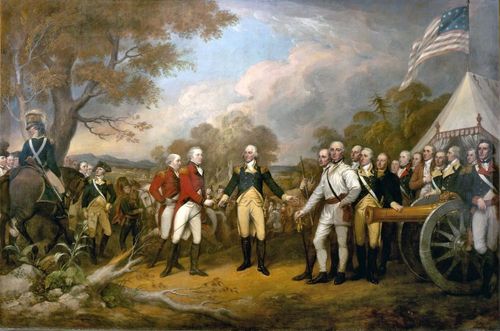
E195 - Surrender at Saratoga of General Burgoyne
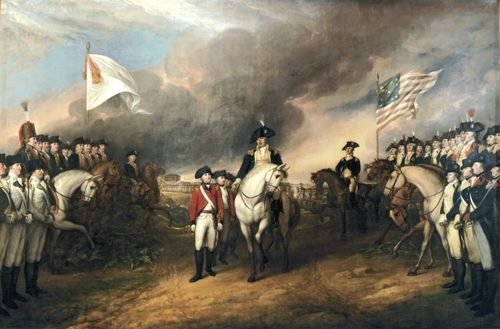
E195 - Surrender at Yorktown
E195 - The Long Shot
E195 - 1777: Decisive Year of the American Revolution - 12222-12223
Place a DOT on the image